This is an old revision of the document!
Download and Install WinSCP
This guide contains simplified description of downloading and installing WinSCP. You may want to see detailed documentation of the process instead.
Advertisement
Downloading
You can obtain WinSCP from the WinSCP download page. Follow the Installation package link. You should save the installer to an easily accessible location such as your Windows desktop or your My Documents folder.
Installation
- Open the installation program by double clicking on its icon.
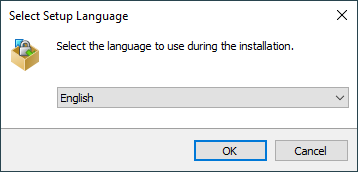
- Select the language you want to use (both for installation and later when using WinSCP).
- On Welcome and License Agreement screens click Next after reviewing them.
- You will be prompted to select a setup type. For basic setup, choose Typical installation.
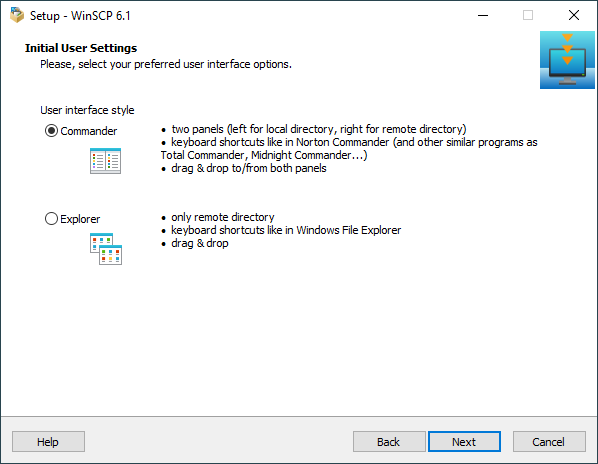
- Then you will be prompted for Initial User Settings. This mainly allows you to select user interface style. If you have used (and enjoyed) file managers like Total Commander, Altap Salamander or Norton Commander before, keep default Commander interface. Otherwise you will probably be more familiar with Explorer interface.
- After you select the interface, the Ready to Install screen opens. On this screen, you can review the installation options you’ve selected. Click Install to start the installation.
- A brief installation process will take place. You may have to restart your computer. If you choose not to restart, some WinSCP functions may not be available until you do so.


Further Reading
If you need more details check documentation for installing WinSCP.
Once you have WinSCP installed you may want to check:
- Other guides to using WinSCP;
- Tasks you can do with WinSCP;
- Using WinSCP as portable application.
Advertisement